This article describes the steps we took to install paving stones in our front yard. We made the paving stones ourselves using moulds that we bought.
Home Made Paving Stone Installation
Over the recent holiday break my family spent some time installing paving stones in a small section of the front yard. These paving stones were made by us over the course of the last few months. We have 5 moulds and managed to make about 75 stones in total.
Preparing the area
Clear the area and estimate the number of stones that you may need. We decided to use irregular shaped stones that we made ourselves from moulds that we bought. The paving stones were about 18 inches across each. We estimated we may need 45 stones to cover the area.
We started by removing all objects from the area and ensuring that we had enough space to work.
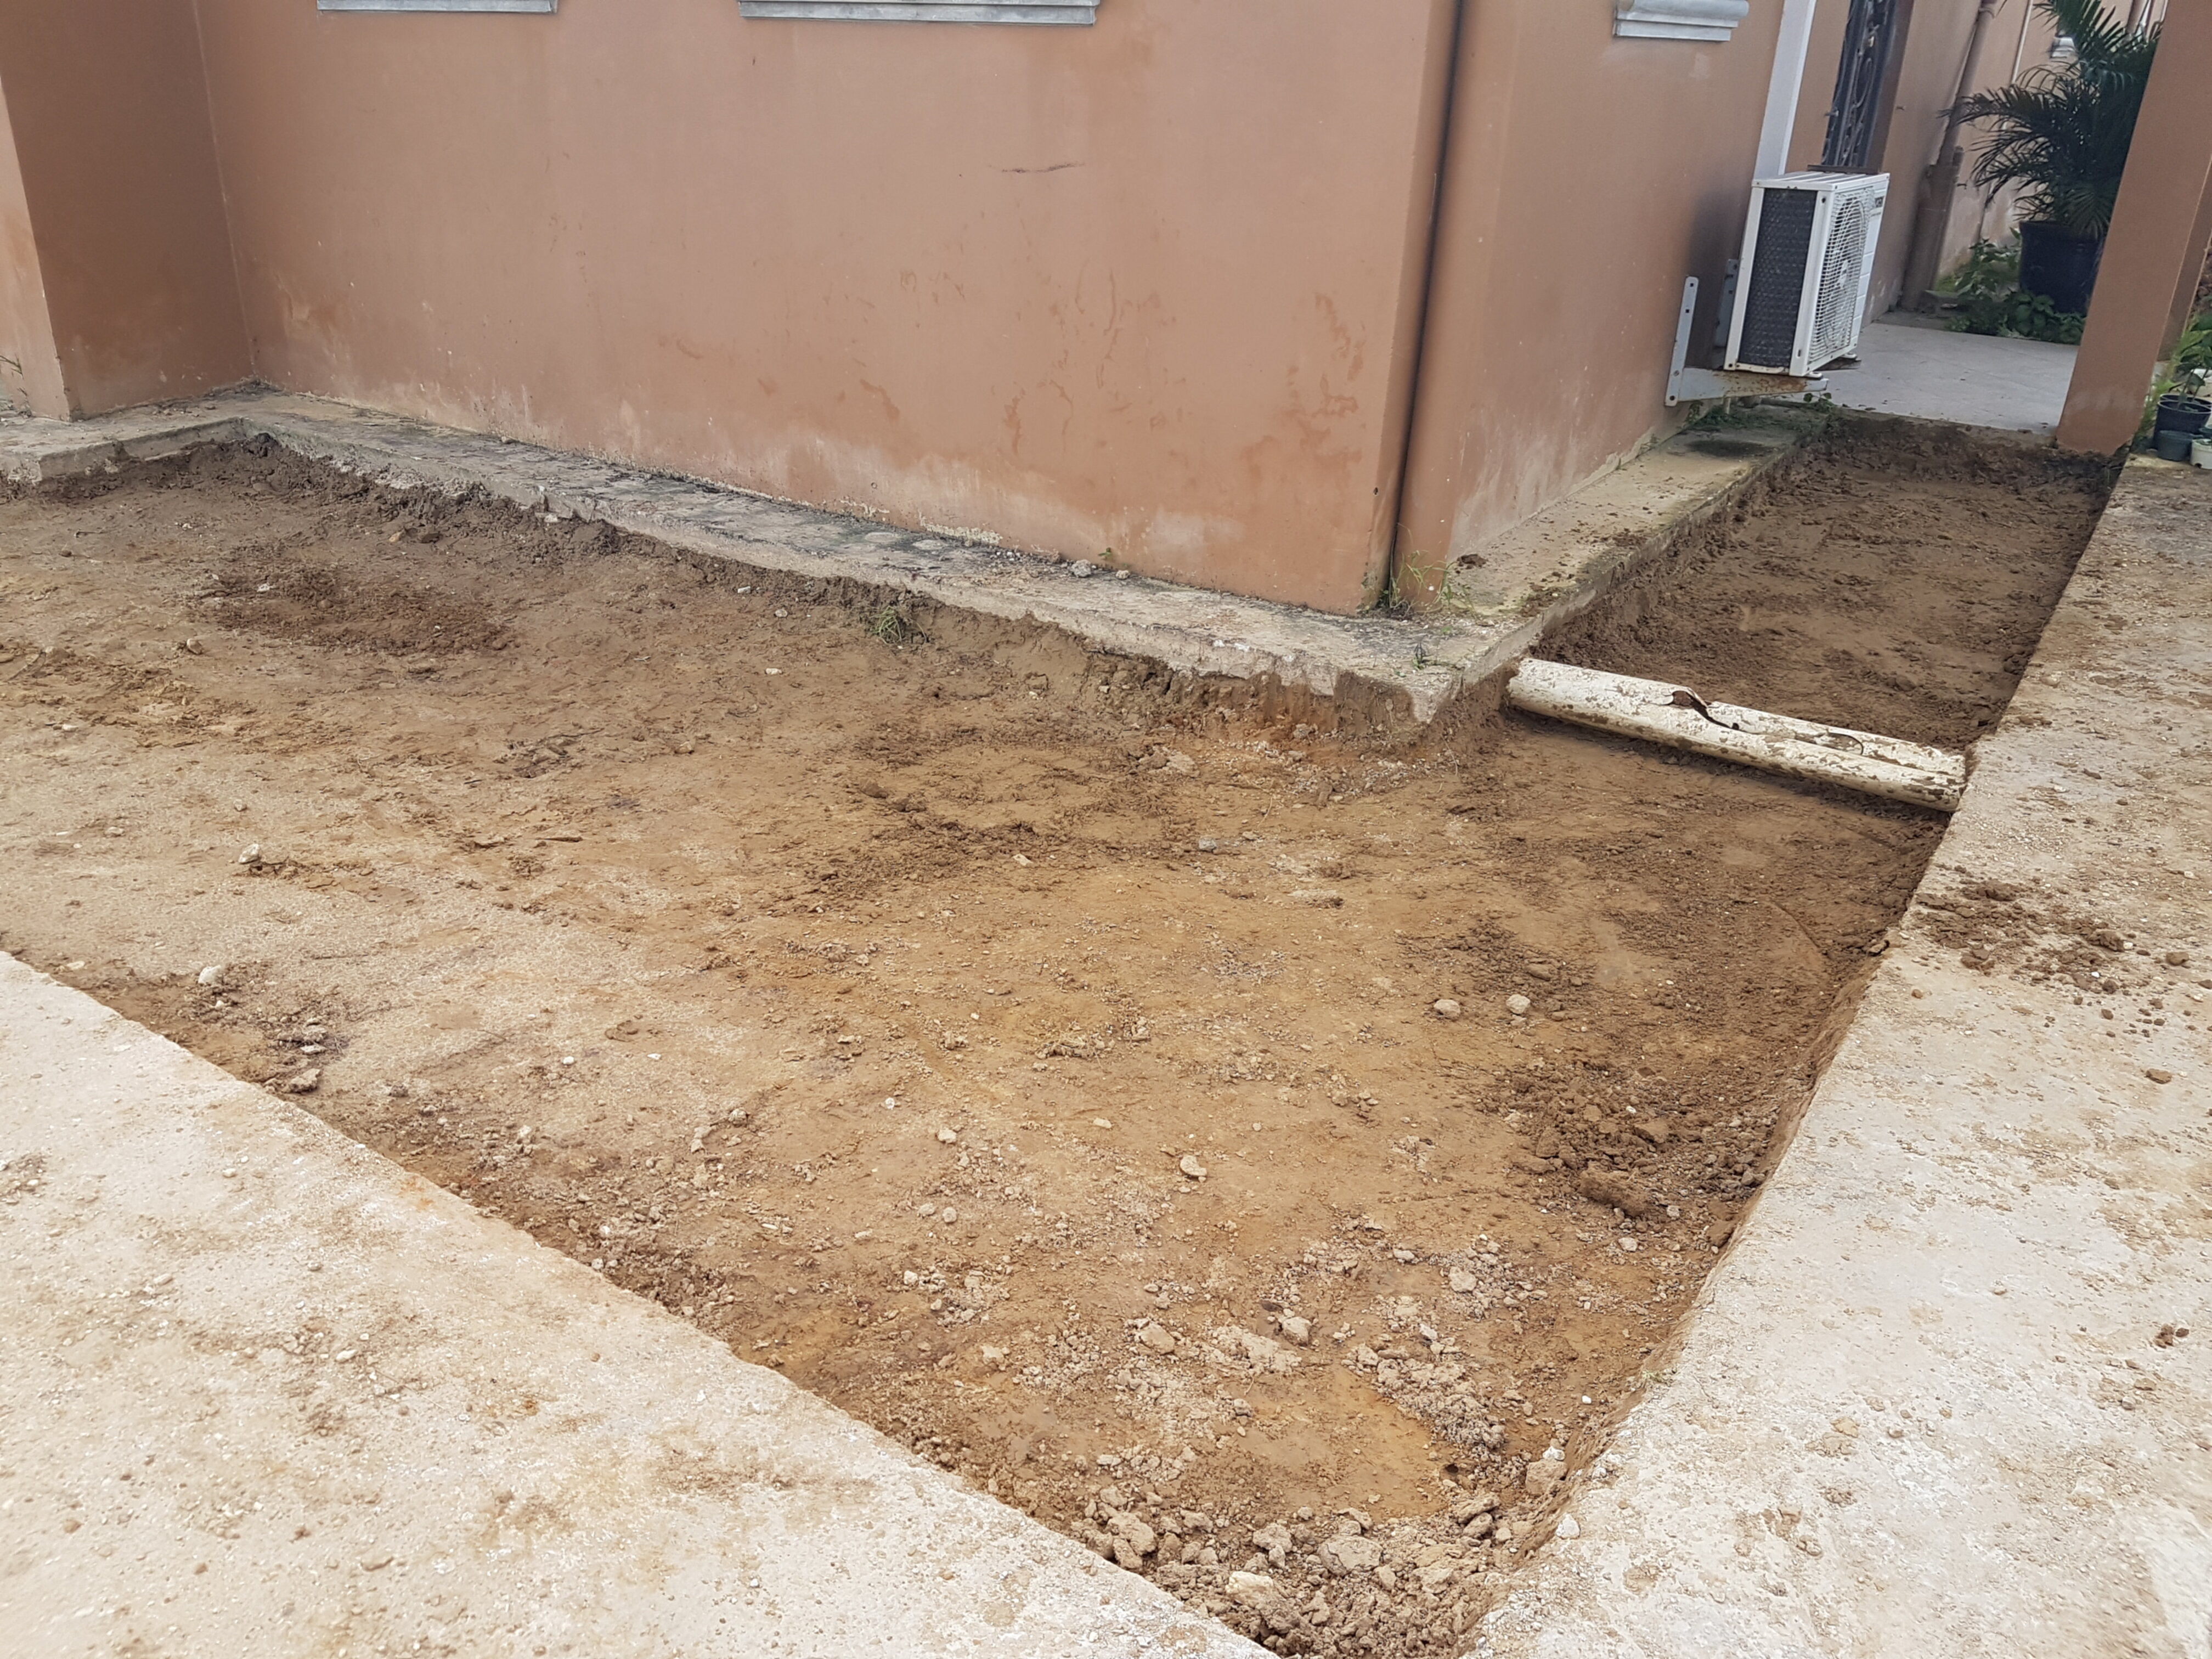
Remove 4 inches of dirt
This is a labour intensive part so ensure you have enough willing labour.
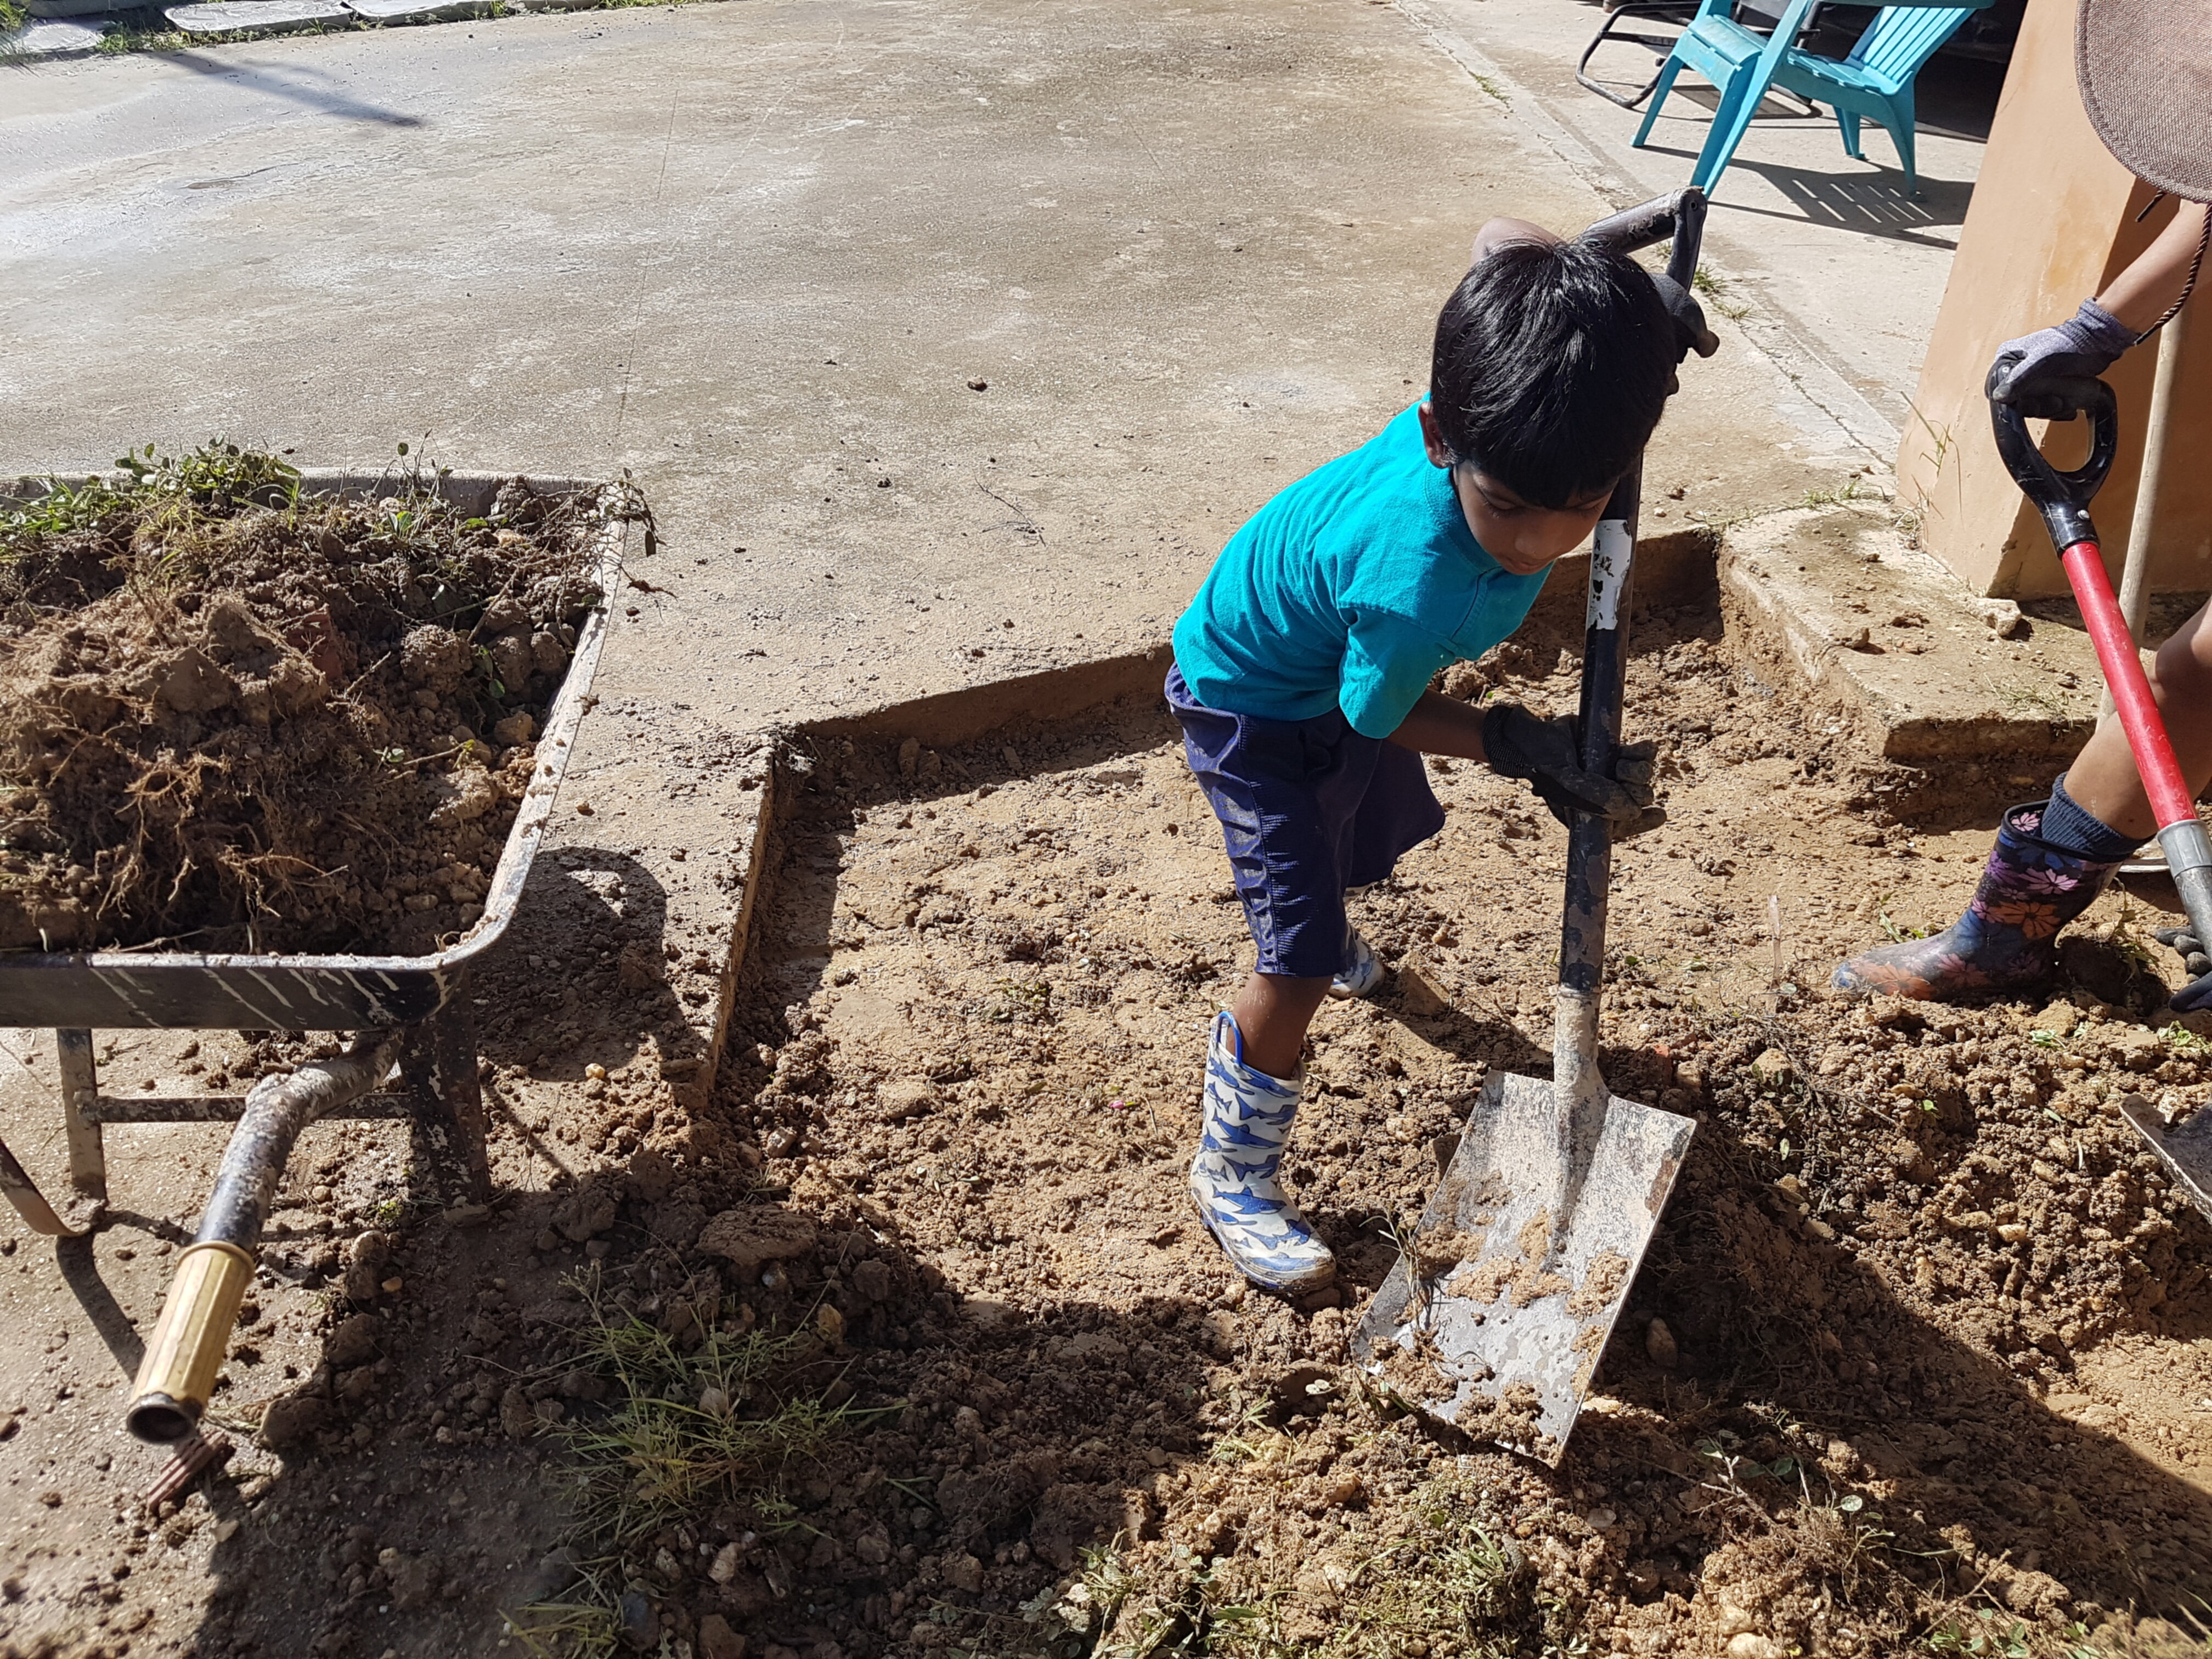
Try to get the ground as level as possible but don’t worry if it isn’t. We will be using sand to level the dirt. The main struggle with this step was knowing how deep to dig. It turned out that we went a bit too deep in some areas.
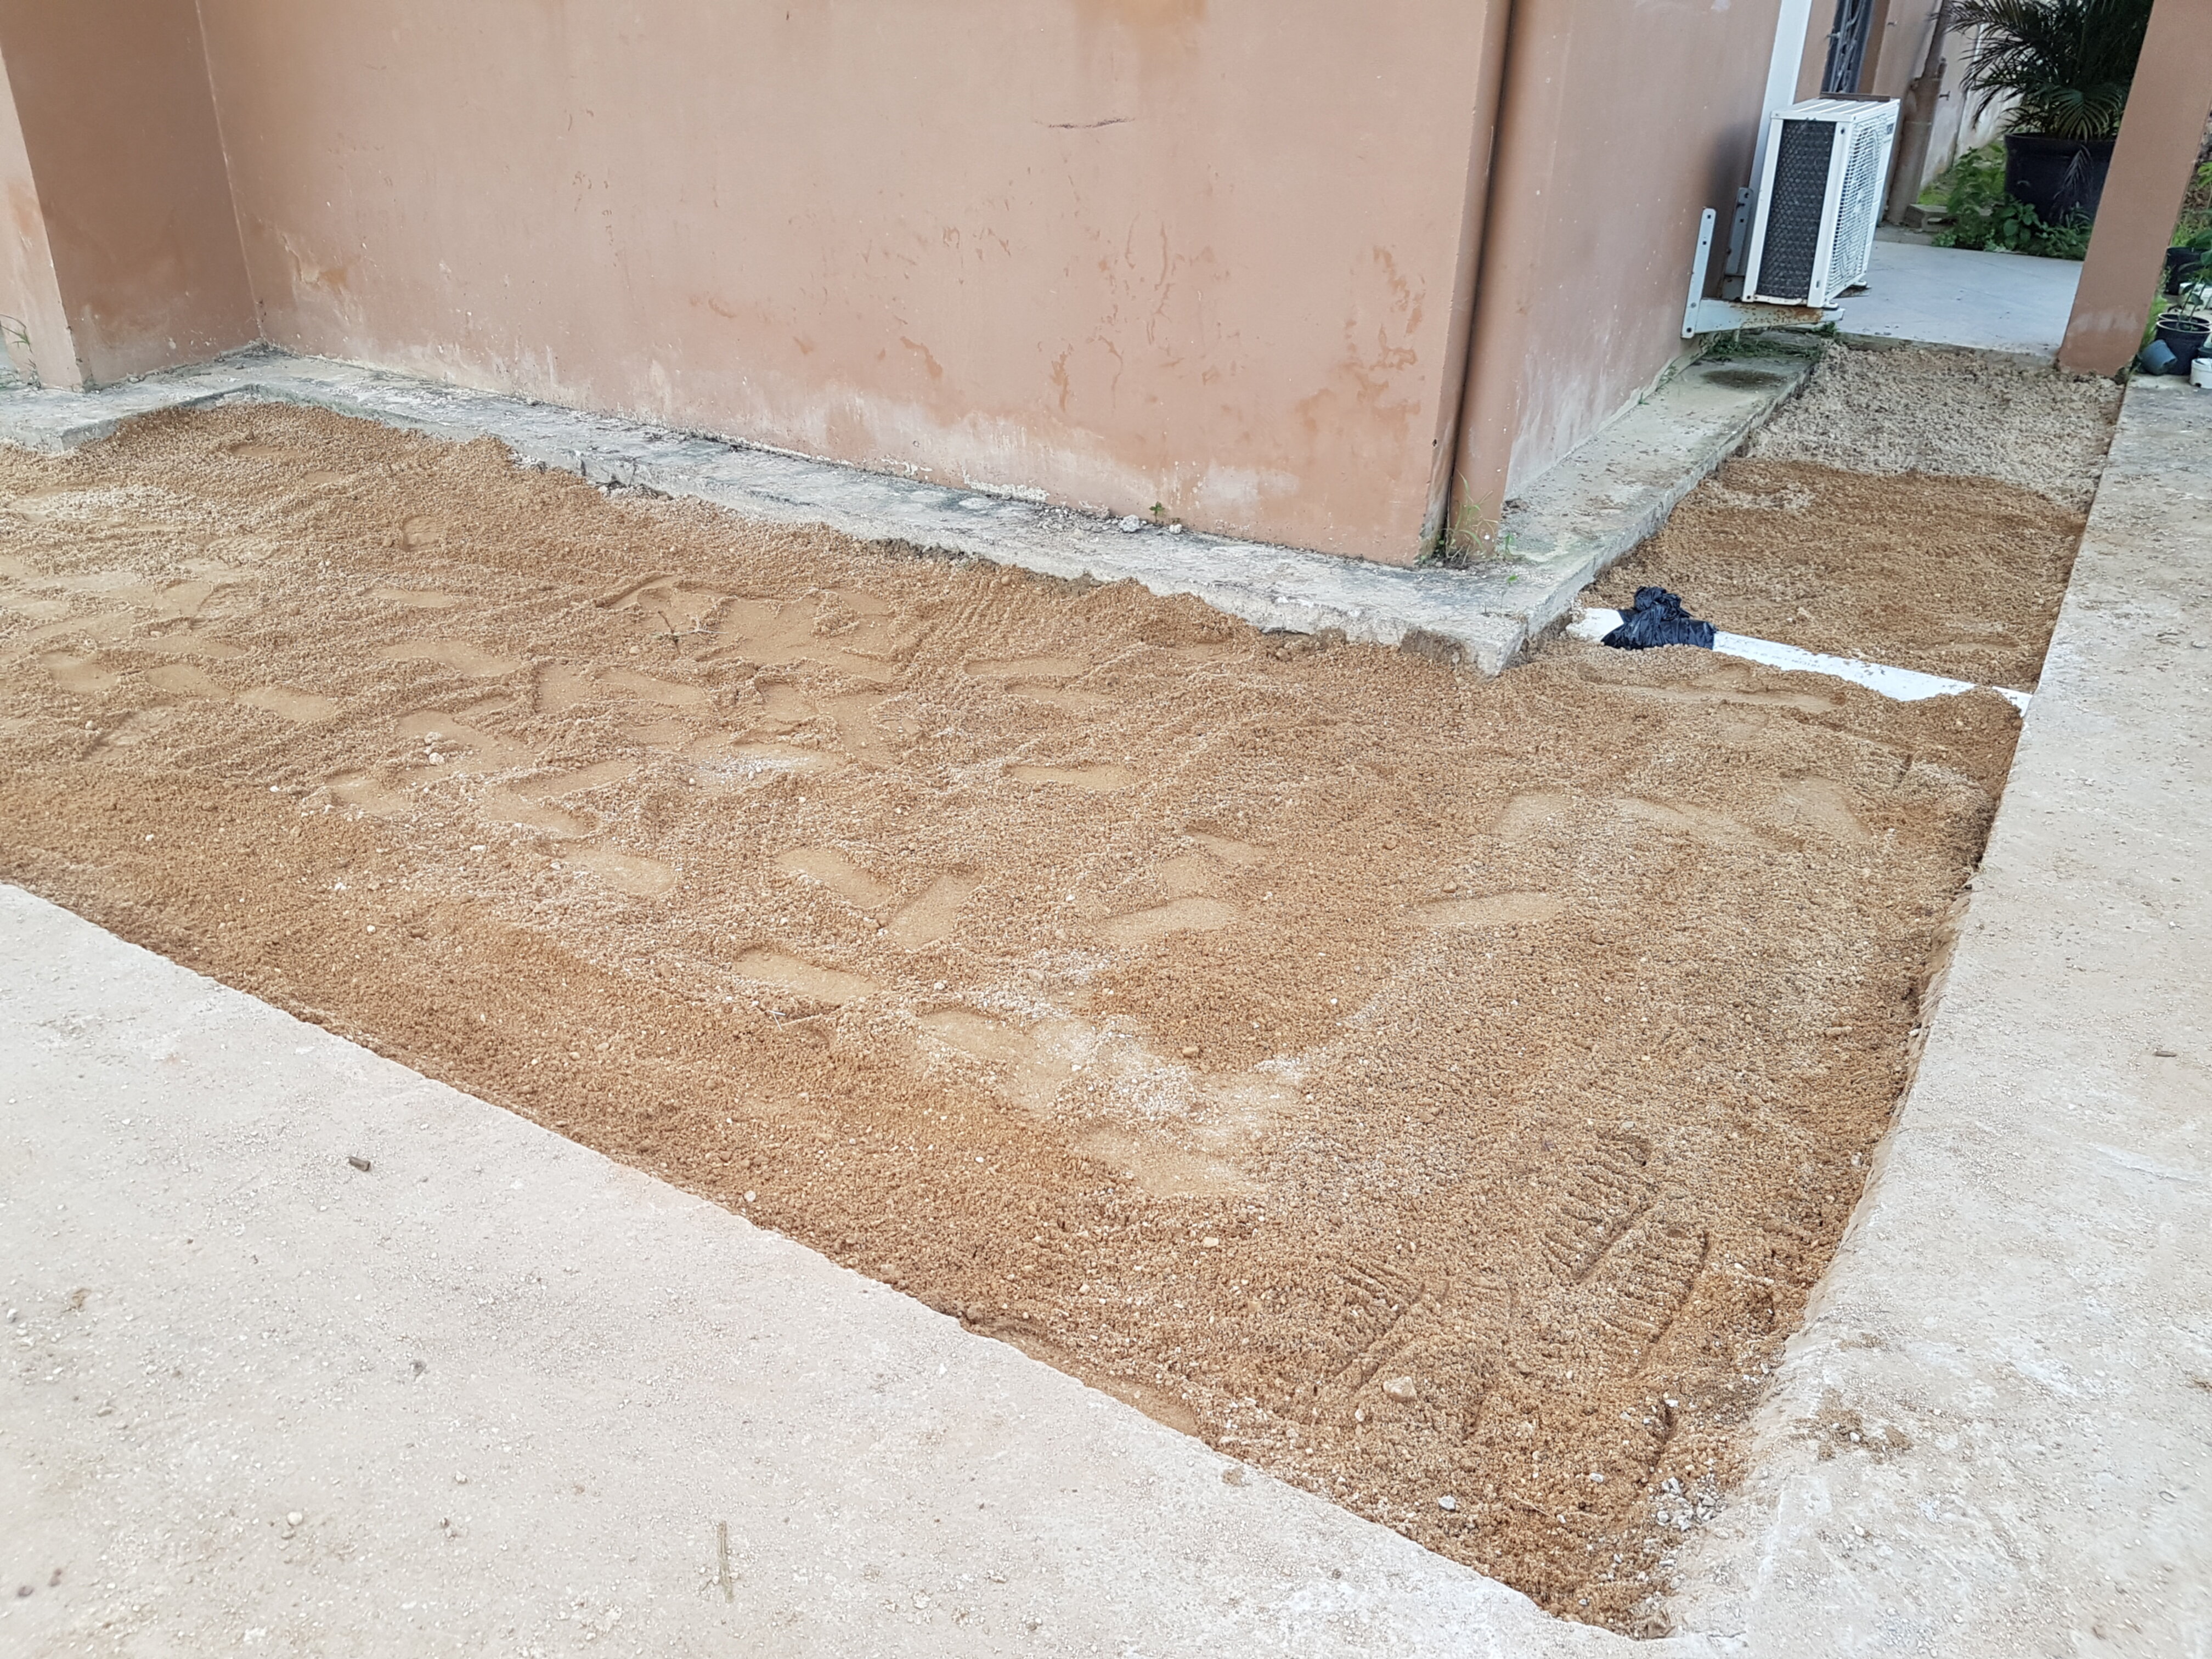
Add sand
We used sharp sand for this step. Fill the area with about 2 inches of sand. The purpose of the sand is to get a level surface to place the stones so that there are no air pockets under the stones. So at this step you need to use enough sand to level any uneveness caused by digging too deep in the previous step.
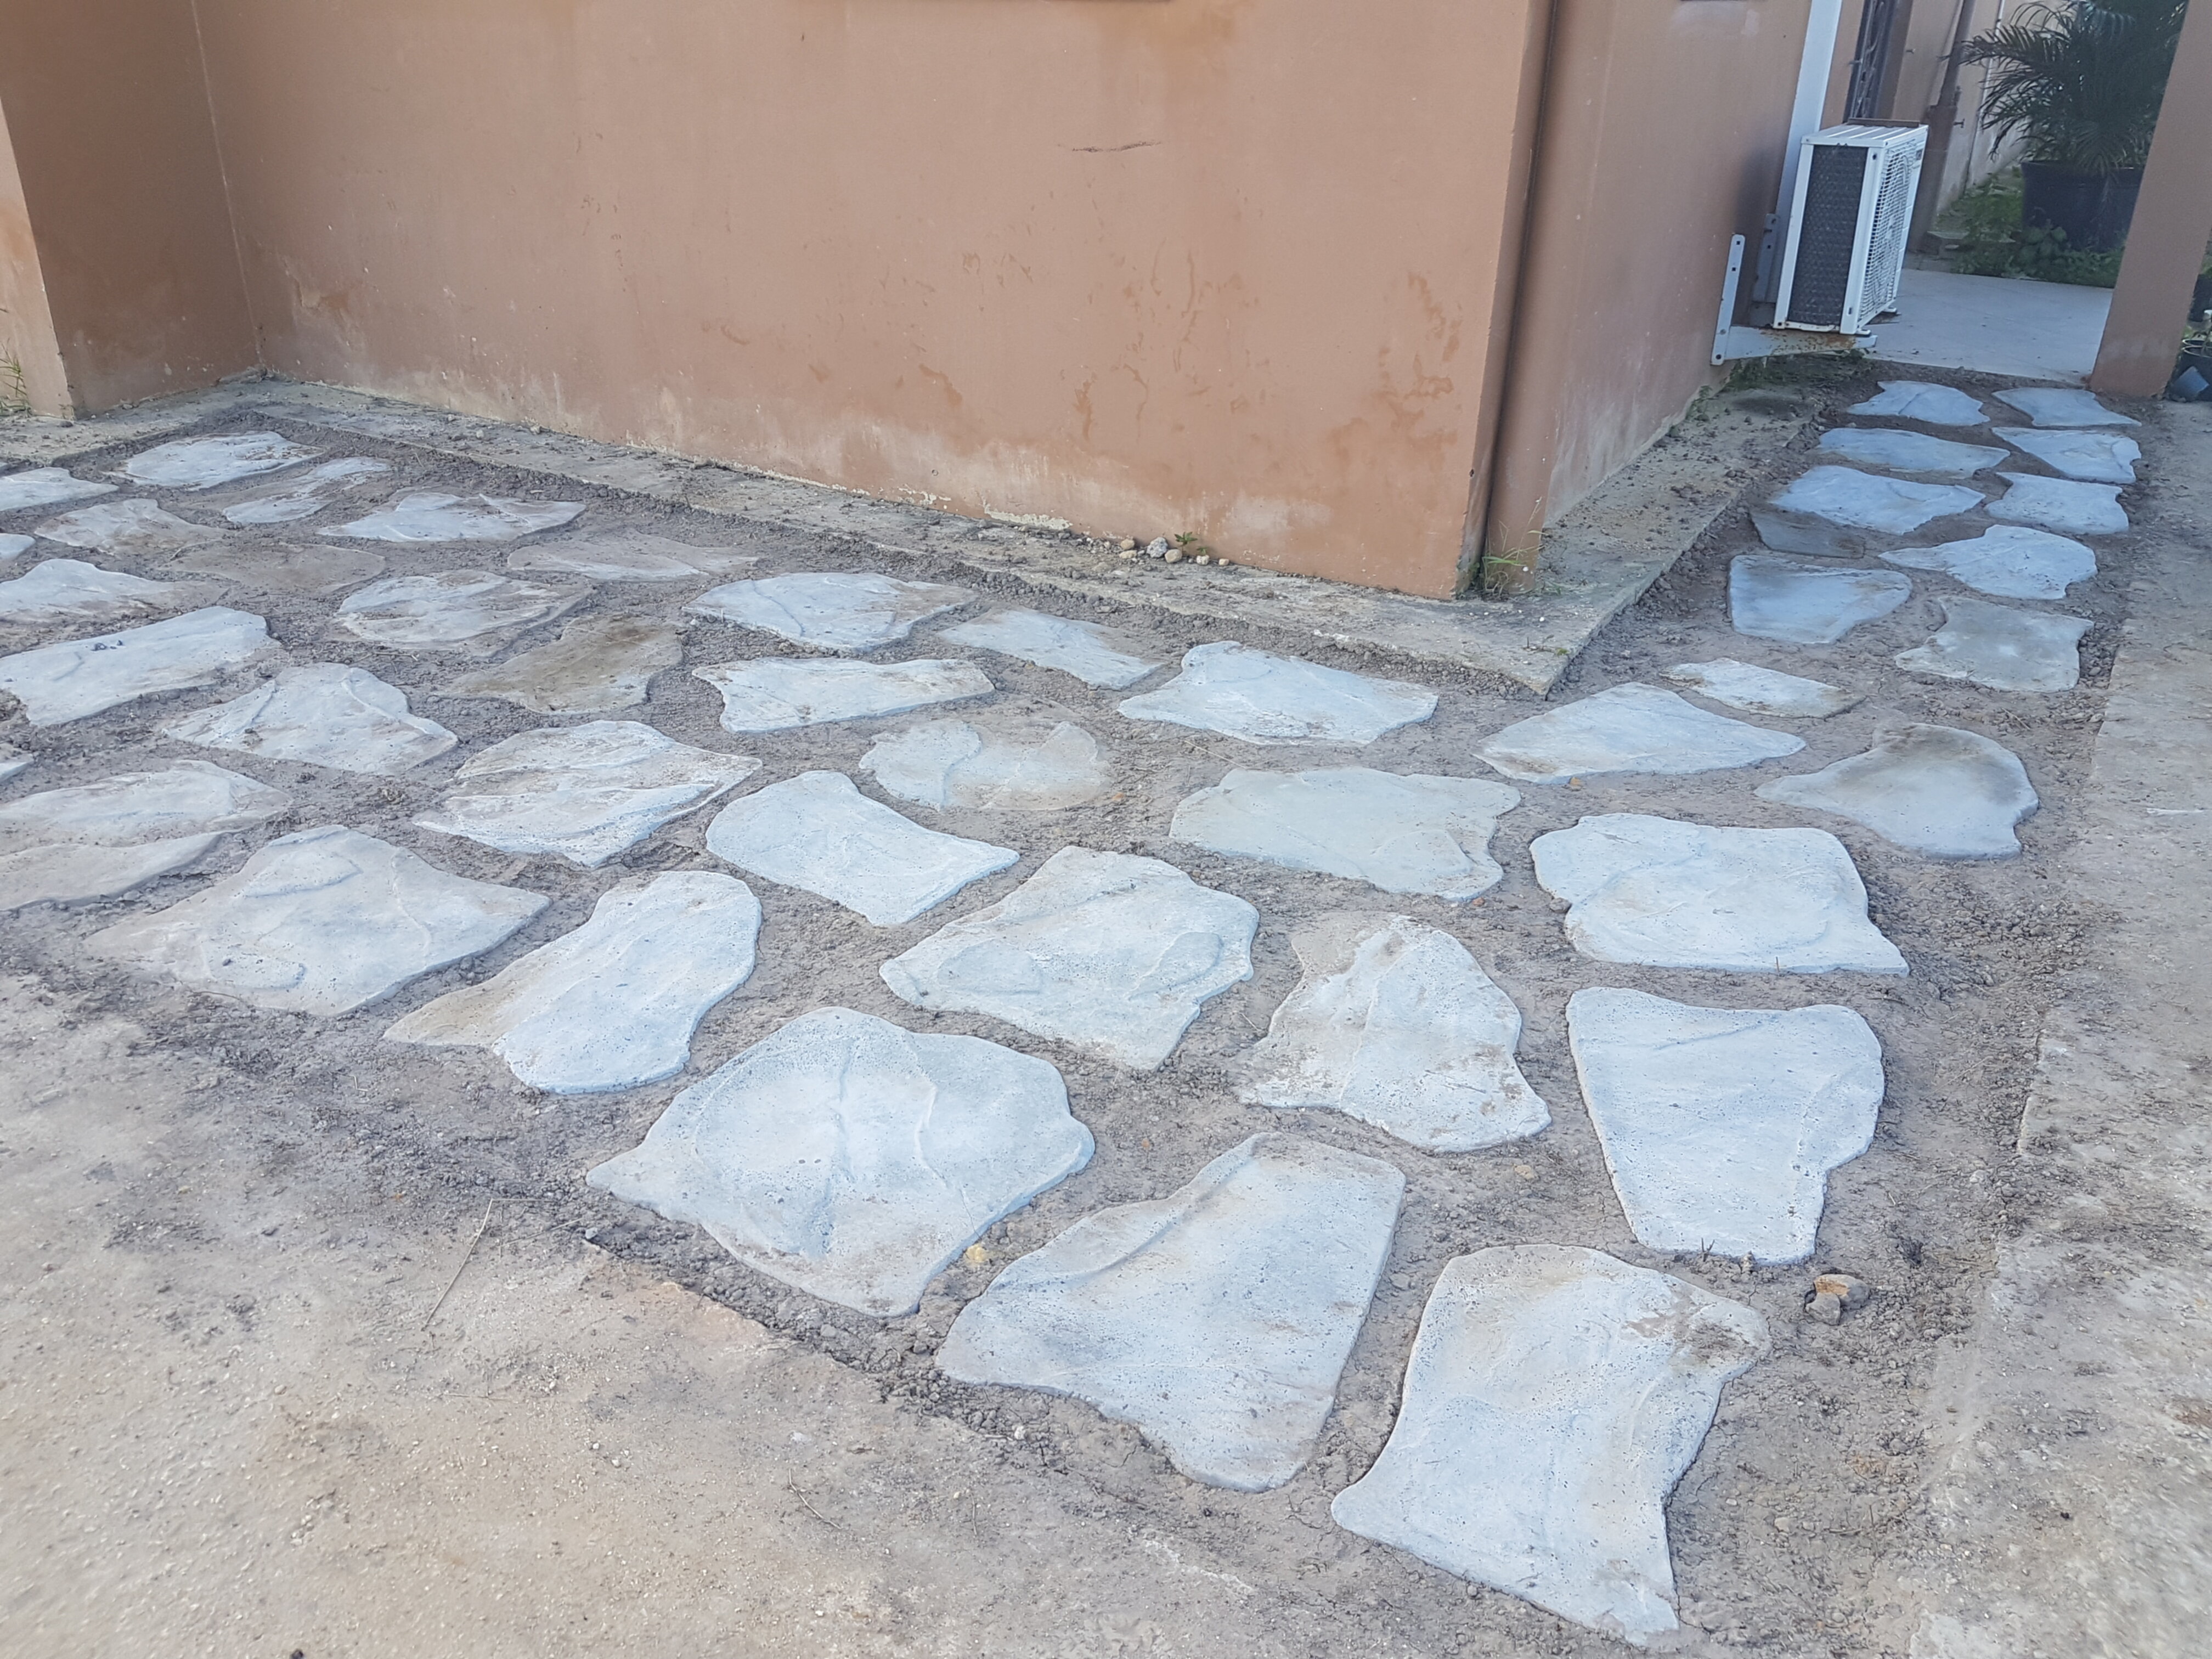
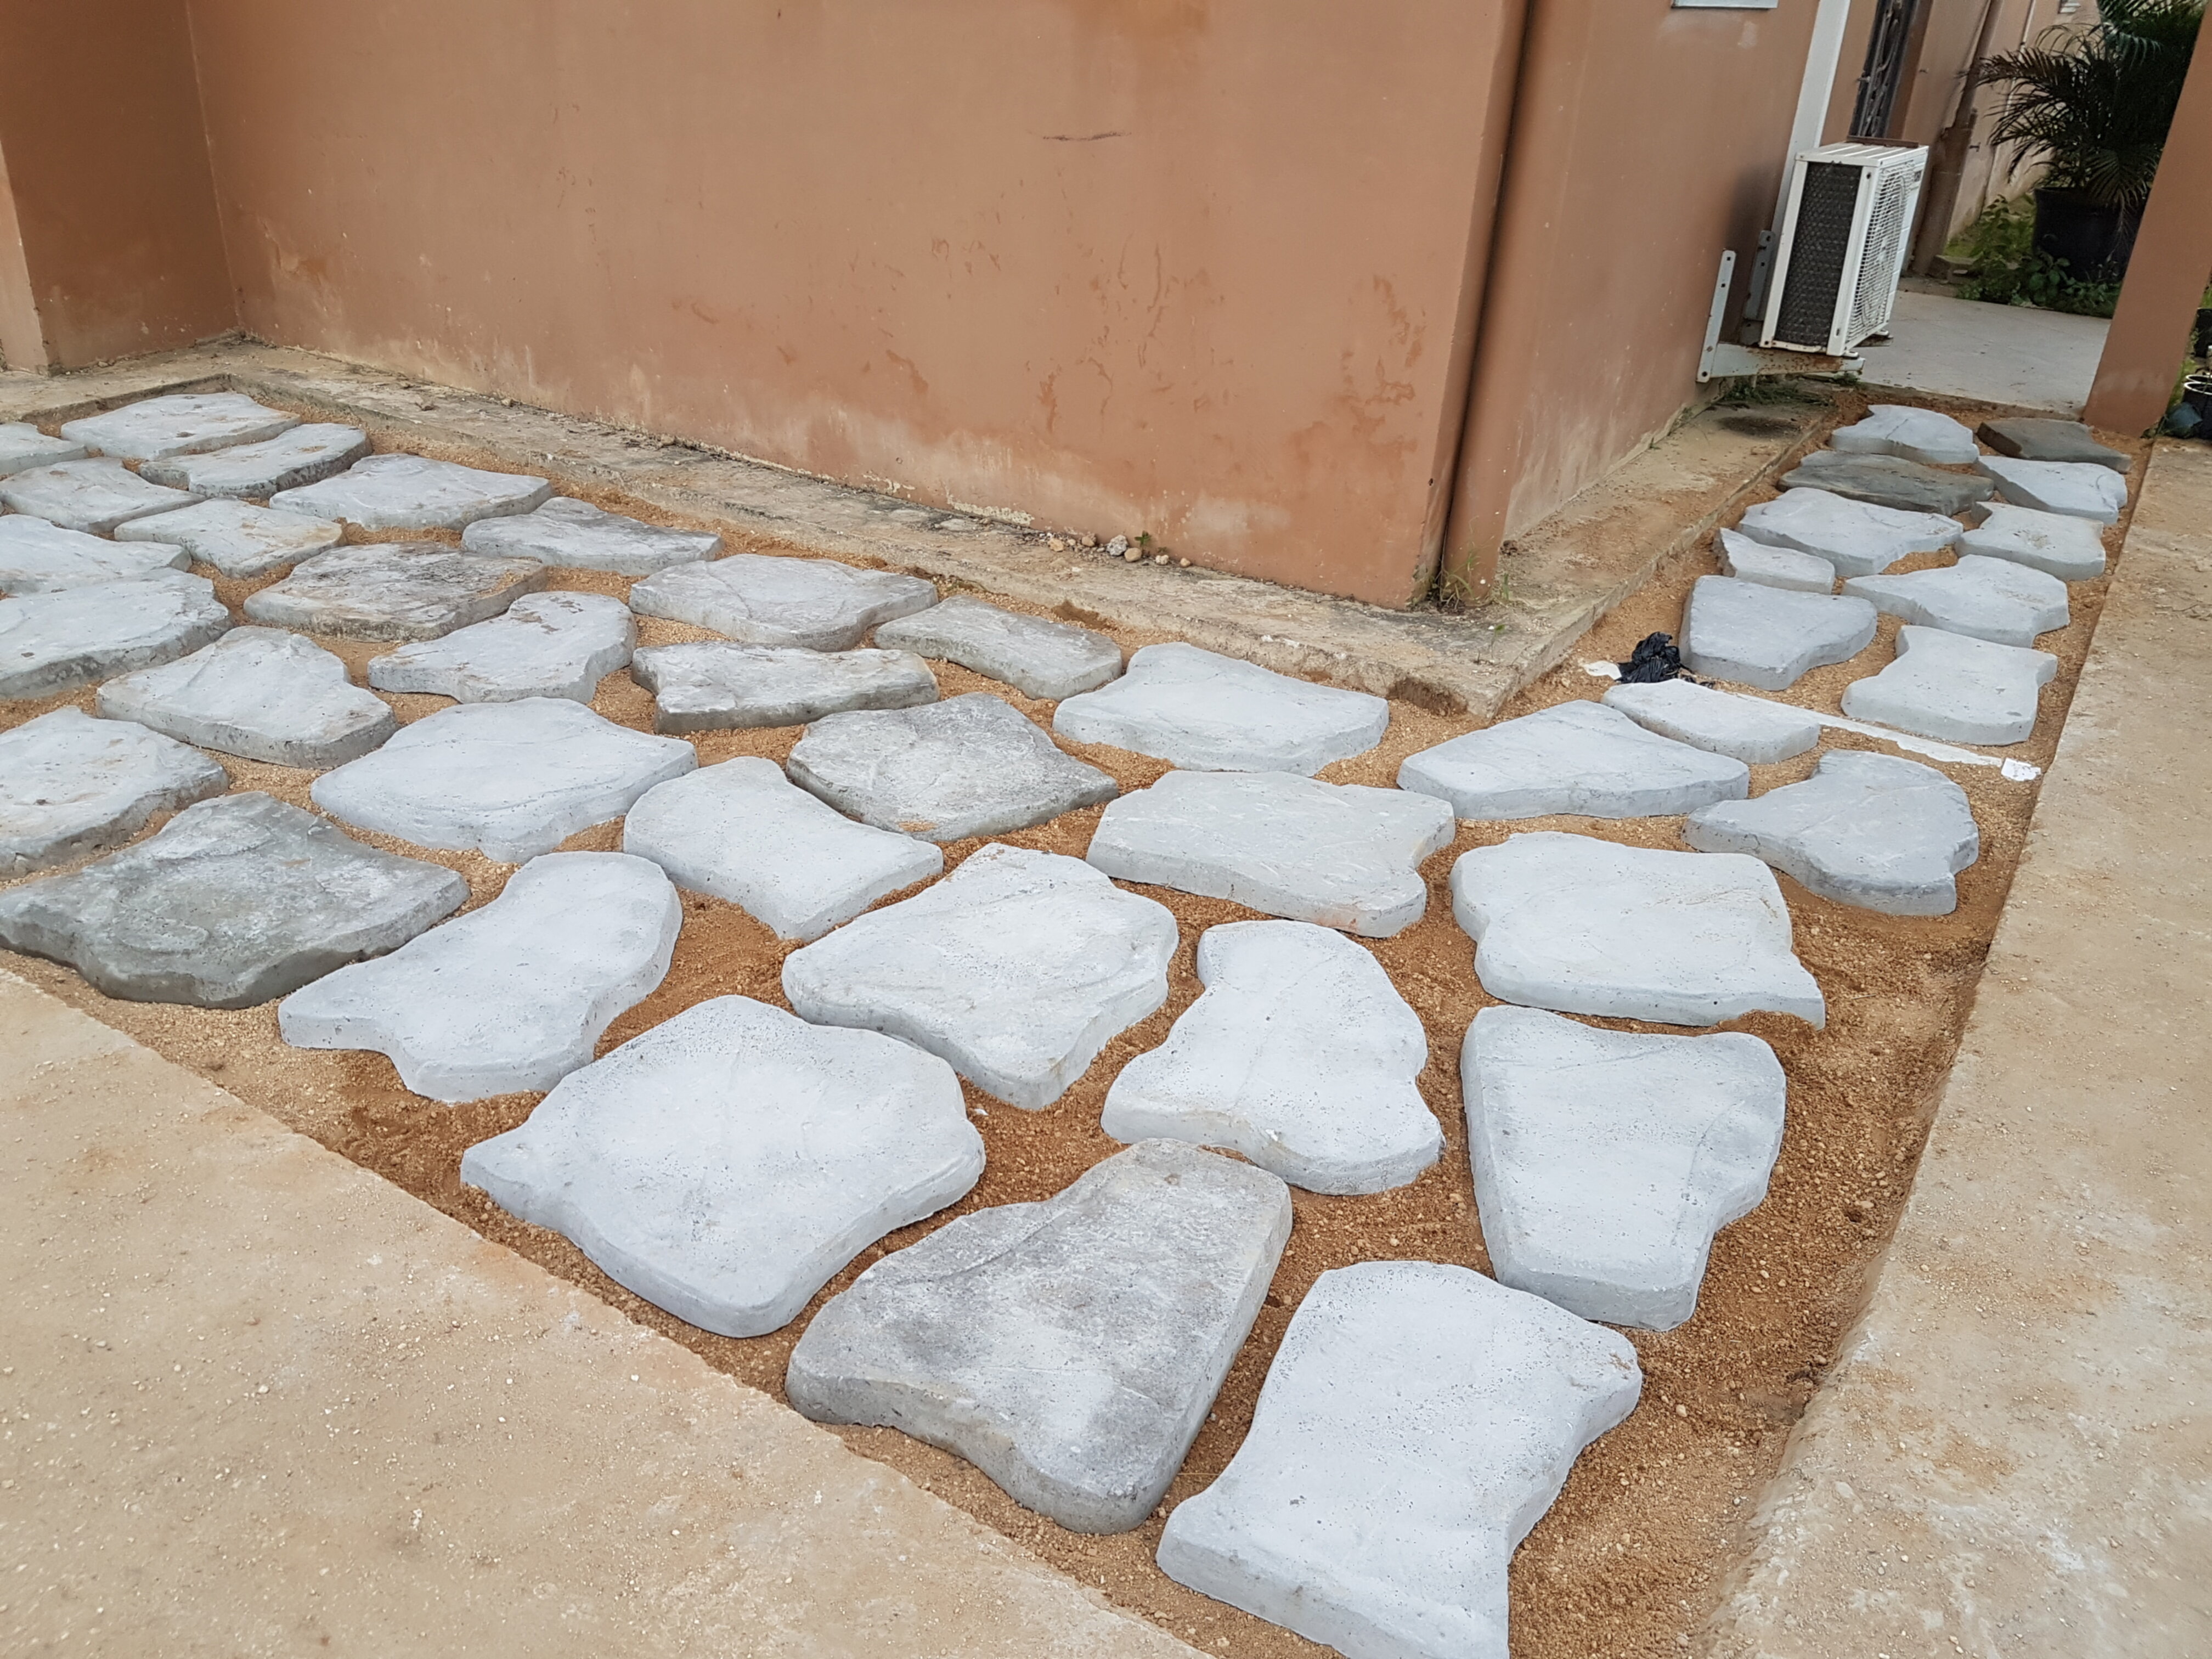
Lay stones
Carefully place the stones in the pattern that you want. We found that we needed to ensure that the sand was level for each individual stone as they were laid. Also, dropping the stone into place from about 4 inches helped to ensure that the sand was evenly distributed under the stone and no air pockets were left. We actually used 48 stones to cover the area.
Fill spaces with dirt
Fill the spaces between the stones with rich dirt. We used a rich top soil mix that has proven to be very good for growing plants. We filled with dirt level to the stones then waited a few days for the soil to settle. Eventually it settled lower than the level of the stones. For a few days we hosed the area to wet the dirt and that helped the settling process.
Next steps
The job is obviously not yet done. We have two major steps left and when they are done I will update this article.
- Fill the remaining space with potting soil
- Plant grass
If you are doing a similar project let me know. I would like to hear how it goes for you.